So I’m officially on holiday for the next week, which of course in the world of freelance means I am thanking the data gods for my unlimited 3G! Although I’ll be doing my damndest to ‘switch off’ (if there ever was such a thing) I will be updating some of my holiday funtimes to Instagram and Snapchat (@foreverURSbetty) along the way way. Well you wouldn’t expect me to go completely off the grid now, would you?

Even though I have my beloved Olympus Pen, I am still oh so fond of the standard iPhone camera. With abit of editing in toe, some people wouldn’t even know the difference, I’ve even surprised a few photographers myself! Bringing out your expensive camera in large public places can be somewhat nerve wracking so I’ve compiled some top tips to get top quality pictures straight from your iPhone.

May the light lead the way.
My first tip for good iPhoneography is lighting, lighting, lighting. Finding the best light will up your photo game like you wouldn’t believe, but that doesn’t mean go to the lightest spot, as where light is, shadows will follow. Trick is to find a place where the light is bright and the background is clean and minimal. No one likes a selfie with a messy bed in the background, ahmiright?

So fresh and so clean.
Before you actually take your photo, give your lens a right good clean. Front and back! Even if it doesn’t look dirty, you use your phone on your face, picking it up and resting it places that the cam can be covered in dirt and oils. A wee wipe should have you snapping clearly in no time.
Get up close and personal.
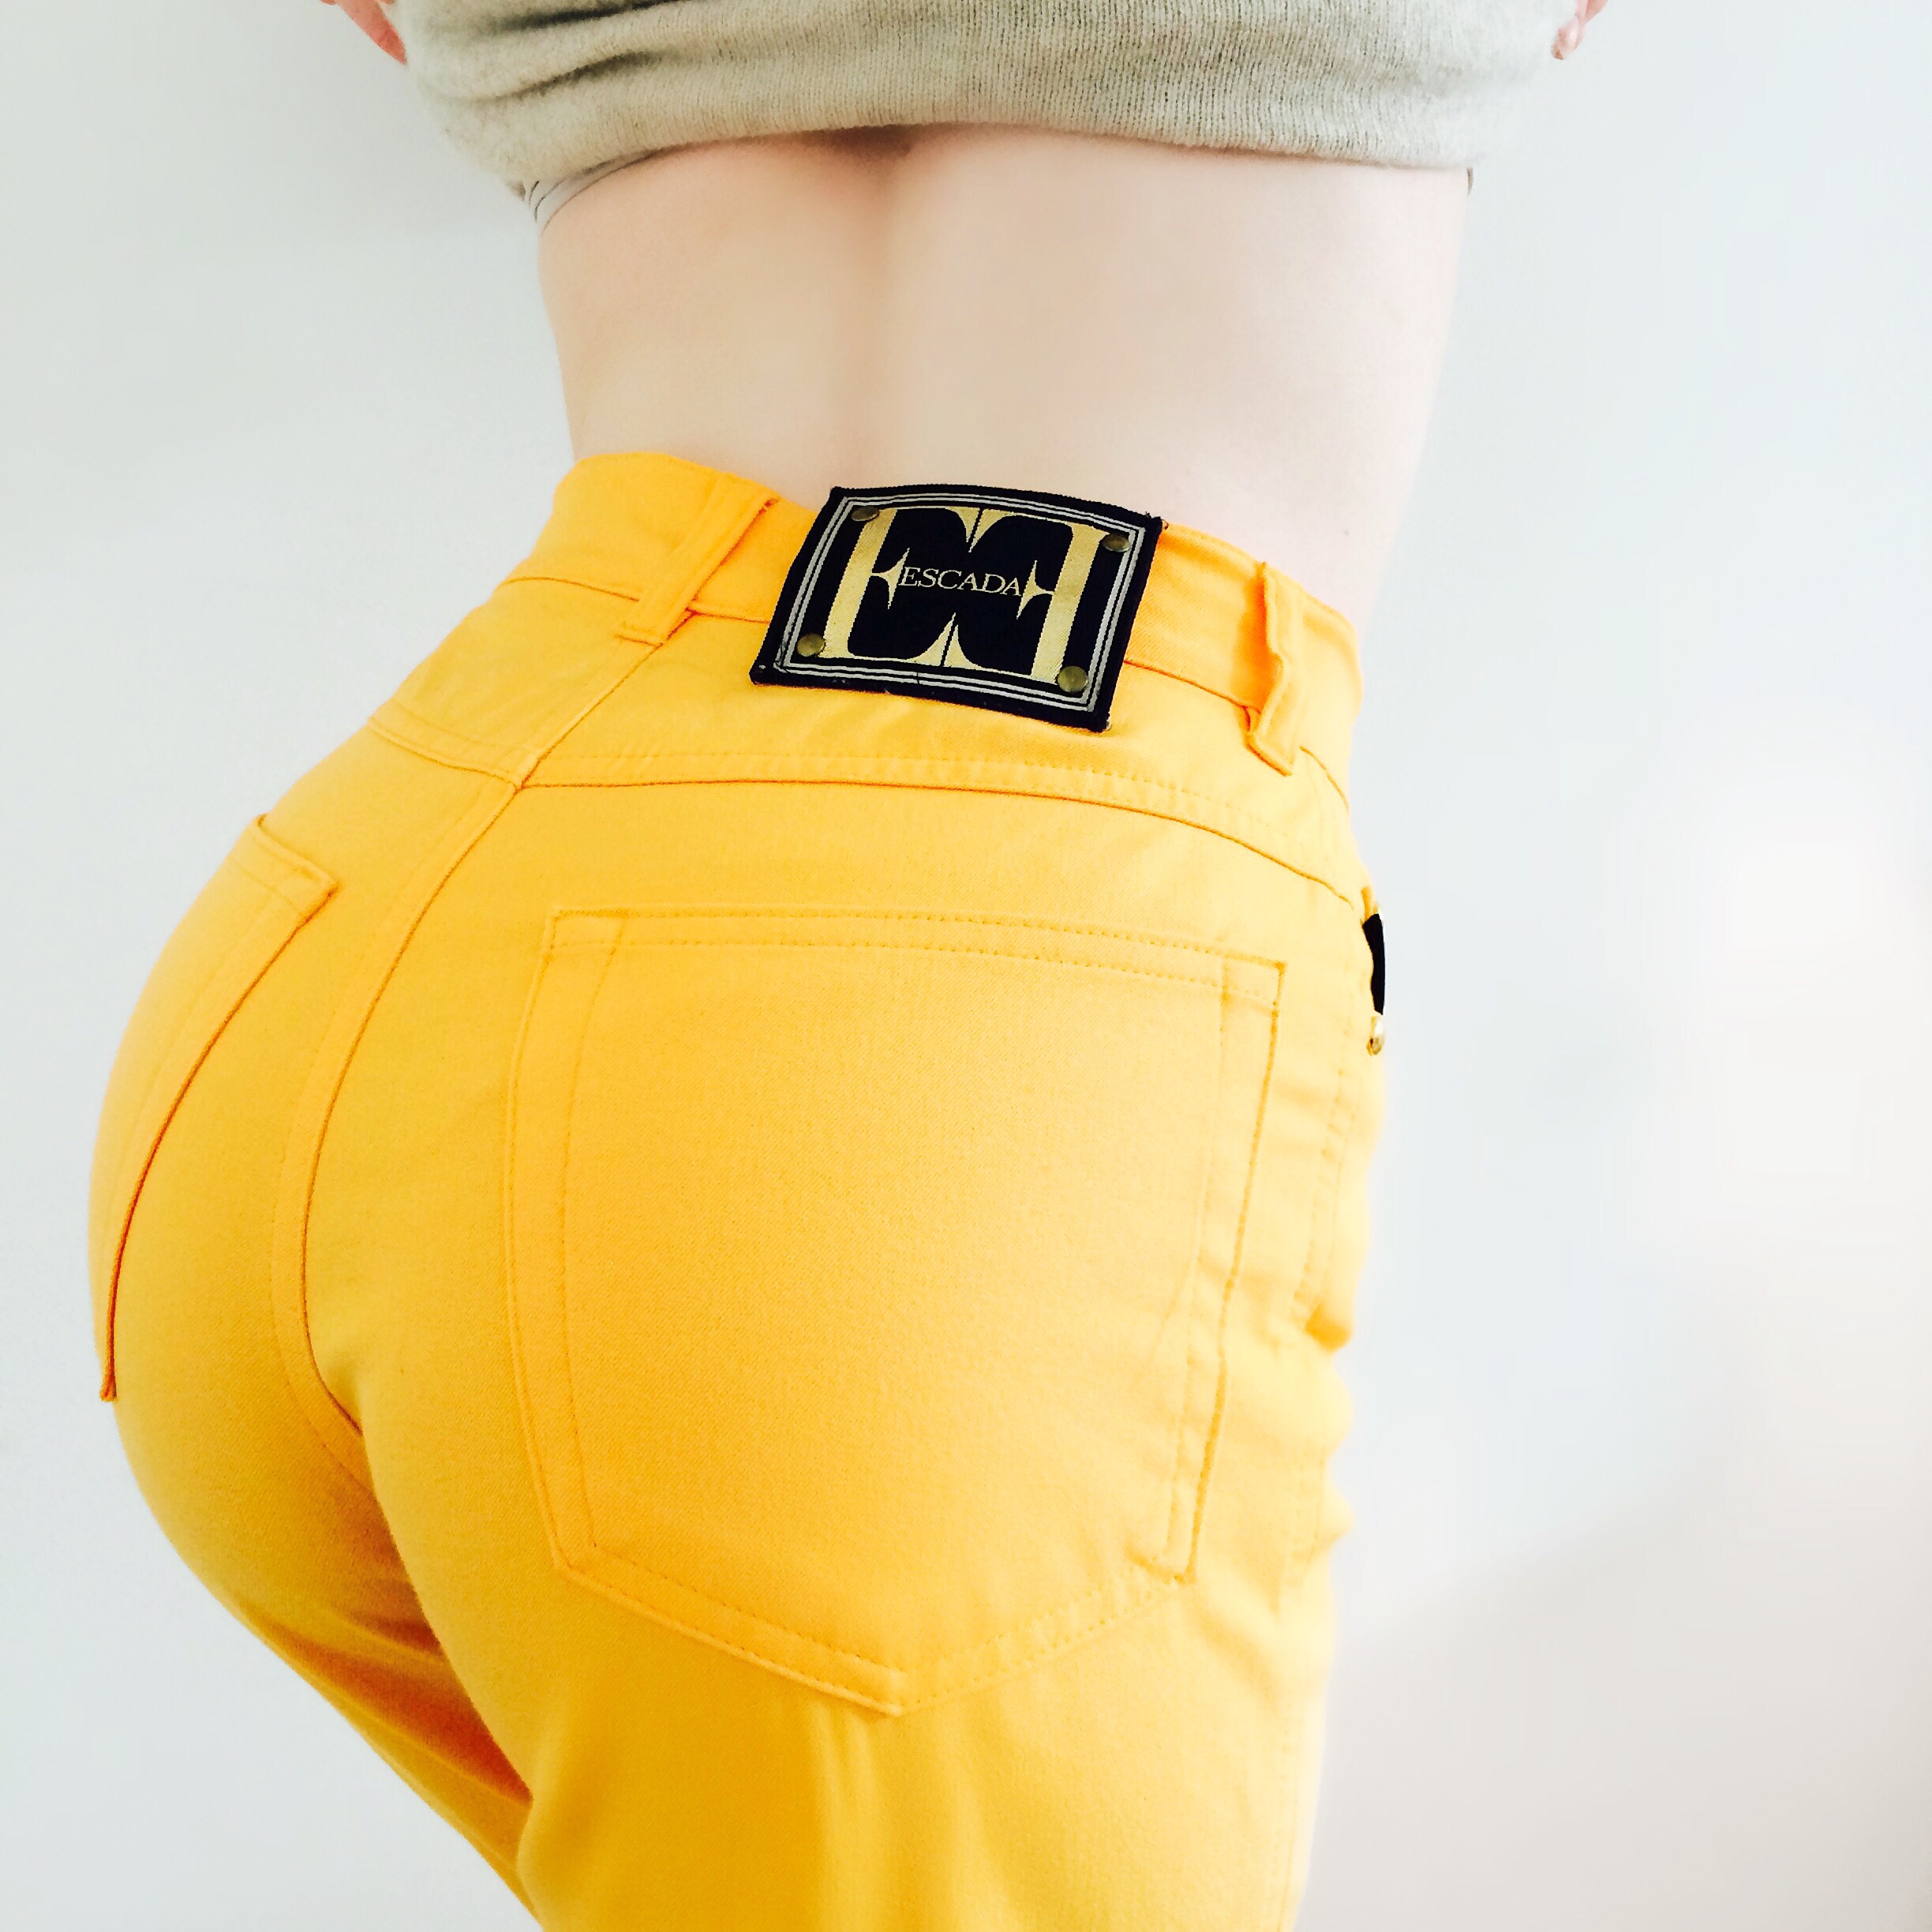
Next, Stay away from Mr Zoom and instead get up close and personal with your subject. Creative crops have been getting a bad rep for ‘misleading’ viewers but carefully cropping your images to feature exactly what you want has been a photography trick for years! iPhone are now making their images extremely high res, so if you do crop your image will be in tact. Unlike that pesky pixely zoom photo! Plus, if you are up close, the teeny tiny camera does a great job in picking up the detail. Nifty, huh?

Walk the line.
See those little lines you see on your camera phone screen? Use them. They help you guide and centre the image the way you want to. I love that Instagram has the option to add more lines if you want to align your picture to perfection. You can even straighten your image all angles if it’s not on the money. Folk with some OCD tendencies, this is for you!

Tap that.
When the light isn’t going in your favour (or even when it is) tap around your screen for the right exposure you are looking for. Hold the position and drag your finger up or down to make the image lighter or darker, before you even take the photo! It can be a savour on over bright or dark days!

The remix.
Editing is something I take great joy in. I mean, the whole photo taking process I find enjoyable but editing is my happy place. Apart of the fun I find in sharing pictures is finding the right way to represent them. I use the Colour Story and the good old Instagram integrated editing for my pictures, doing a similar orangey edit each time for consistency.

So now I’ve given you all the tips for top IPhone-ography, make sure you follow my holidays (and general life) over on @foreveryoursbetty on Instagram and @foreverURSbetty on Snapchat and Twitter. How will you be taking your holiday snaps?

